
Step 1: Disposal Bin Delivery
Before beginning a roofing project, we take steps to ensure the safety of your property. This includes parking a mobile disposal trailer or construction bins near the roof on the driveway or grass, as well as using wooden planks to prevent damage. Our company is committed to protecting your property during the project and providing professional roofing services.
Furthermore, we use tarps to cover any landscaping or other areas that may be vulnerable to debris falling during the roofing project. This extra precaution ensures that your property remains clean and safe throughout the entire process.
Step 2: Old Shingles Removal
When it’s time to replace your roof, the first task is removing the old shingles. Our skilled team handles this with precision and care, using the best tools to safely clear away the old materials in the disposal bin. We also perform stress tests on the plywood, OSB or shiplap wood planks underneath to ensure its durability.


Step 3: Any Additional Layers?
As part of our comprehensive roof replacement process at Dignity Roofing & Exteriors, we carefully check for any additional layers of asphalt shingles or even cedar shakes that need removal.
Our experienced team conducts a thorough inspection to determine if there are multiple layers present. This ensures that we address all underlying issues and provide you with the best possible roofing solution for your home.
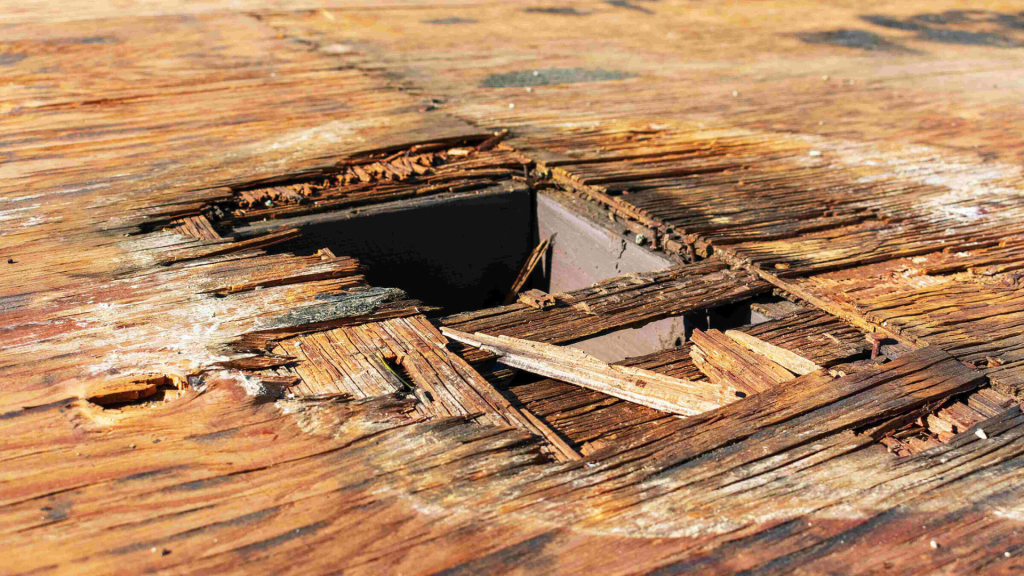
Step 4: Roof Deck Inspection
If we discover any soft spots on the roof, we will promptly inform you and provide replacement options as needed.
Our team of experienced roofers is trained to take pictures and thoroughly discuss any issues with homeowners. This ensures that you are fully informed and involved in the roofing process every step of the way.

Step 5: Material Delivery
At Dignity Roofing & Exteriors, we understand the importance of timely and secure delivery of materials for your roof replacement project. That’s why we work closely with trusted suppliers who ensure that your brand-new shingles and roofing accessories are delivered directly to your rooftop, safely and efficiently.
Step 6: Drip Edge Installation
If your roof was installed 15 years ago or more, chances are there’s no drip edge, which can eventually cause wood rot along the roof’s edge. To safeguard against this, we make sure to include drip edge installation as part of our roofing projects.
This 3-inch metal flashing is placed along the front edge of the roof, adding an extra layer of protection and preventing any potential damage to the underlying wood. With this proactive measure, you can ensure your roof stays sturdy and resilient for years to come.


Step 7: Synthetic Underlayment
At Dignity Roofing & Exteriors, we prioritize the highest standards of protection for your roof. That’s why we opt for synthetic underlayment as the second layer of defense, rather than traditional tar paper. This advanced underlayment covers the entire roof area, offering superior durability, safety, and lightweight properties compared to felt. One of its key advantages is its resistance to moisture absorption, ensuring optimal protection for your roof against the elements. With synthetic underlayment, you can have peace of mind knowing your roof is fortified with the best materials available.
Step 8: Ice & Water Shield
Our Ice & Water Shield is a valuable optional product designed specifically to prevent water leakage caused by ice dams and wind-driven rain. By adding this protective layer to your roofing system, you can enhance its resistance to moisture infiltration, ensuring greater durability and longevity for your home. This specialized shield acts as an extra barrier against water penetration, providing added peace of mind, especially during harsh weather conditions.
Consider incorporating our Ice & Water Shield into your roofing project to fortify your home against potential water damage and preserve its structural integrity for years to come.


Step 9: Open Metal W-Valleys
Drawing from our extensive experience, we’ve discovered that open metal valleys offer superior performance for two main reasons. Firstly, the reduced friction on steel compared to shingles allows for quicker shedding of snow, ice, and heavy rain. This swift runoff minimizes the risk of leaks and water accumulation, ensuring better protection for your roof.
Step 10: Skylight Metal Flashing
As part of our roofing services, we conduct thorough inspections of skylights, including the examination and replacement of metal flashing components such as step-flashing, frontpan, and backpan. These critical elements are essential for ensuring the proper sealing and weatherproofing of skylight installations.
Additionally, our experienced team evaluates the overall condition of the skylight to determine if replacement is necessary due to wear, damage, or poor performance. If deemed necessary, we offer expert guidance and recommendations on selecting a suitable replacement skylight that meets your needs and preferences.

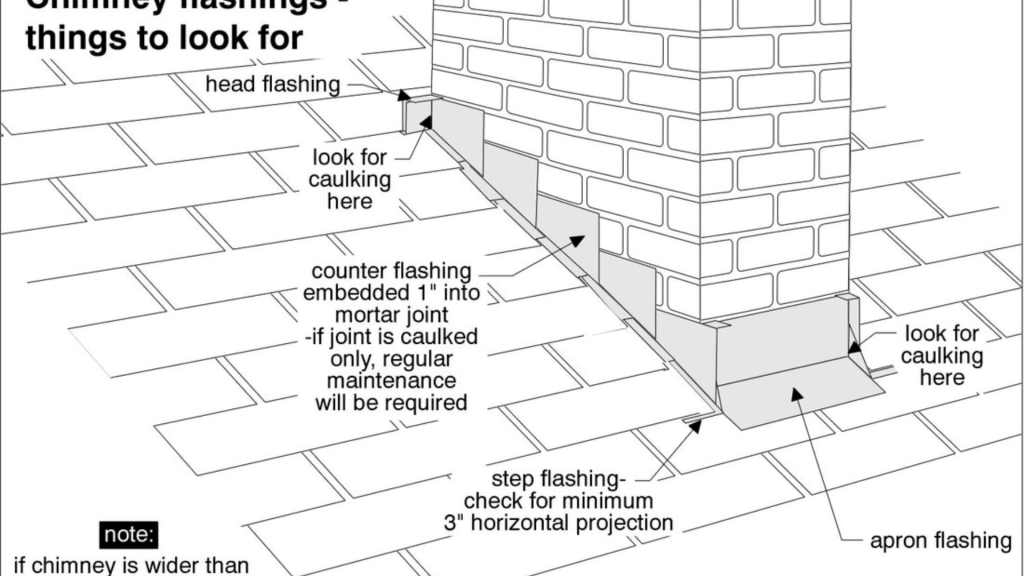
Step 11: Chimney Metal Flashing
As part of our roofing services, we offer comprehensive inspections and replacement of various flashings, including head (backpan), step, and apron (wall) flashings. These crucial components are essential for maintaining the integrity and weatherproofing of your roof system.
Additionally, our experienced team assesses whether counter flashing and/or a cricket need to be installed. Counter flashing provides additional protection against water intrusion at vulnerable areas such as chimneys or walls, while a cricket helps divert water away from structures like chimneys or skylights.
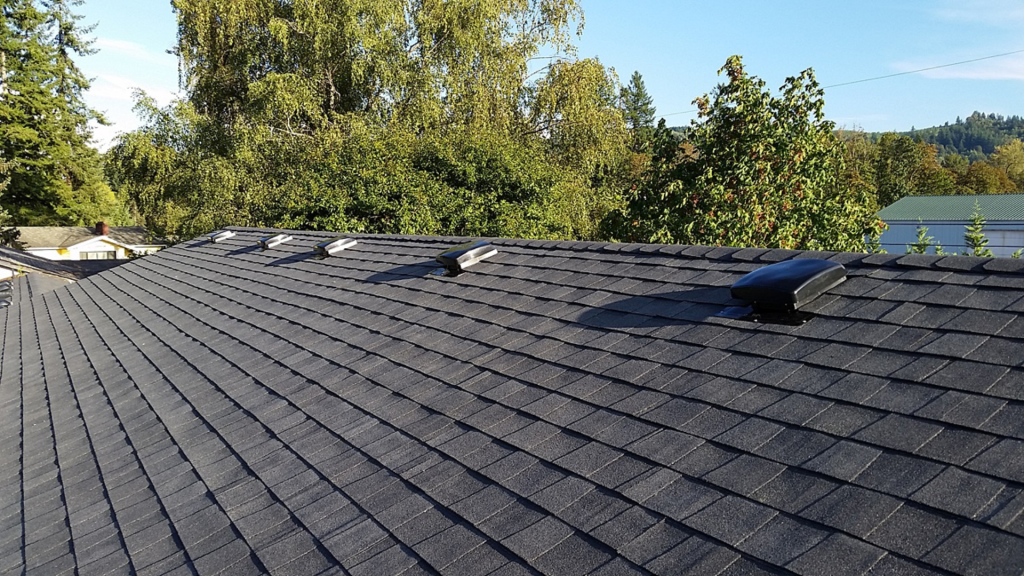
Step 12: Replacing All Vents
As part of our roofing services, we will replace various accessories to ensure the proper functioning and ventilation of your roof. This includes attic vents to promote airflow in the attic, goosenecks for bathroom and kitchen fans, and collars around plumbing pipes. Our goal is to provide a comprehensive and thorough service to ensure the longevity and efficiency of your roof.
In addition to the accessories mentioned earlier, we also offer the installation of ridge vents and solar box vents for your roof. Our team can discuss the benefits of each option and help you choose the best solution for your roofing needs.

Step 13: Step and Wall Flashings
As part of our comprehensive roofing services, we replace step and wall metal flashings whenever necessary. These flashings play a critical role in directing water away from vulnerable areas of your roof, such as junctions and transitions.
By ensuring that these flashings are in optimal condition, we enhance the overall durability and weather resistance of your roof.
Step 14: Clean Up
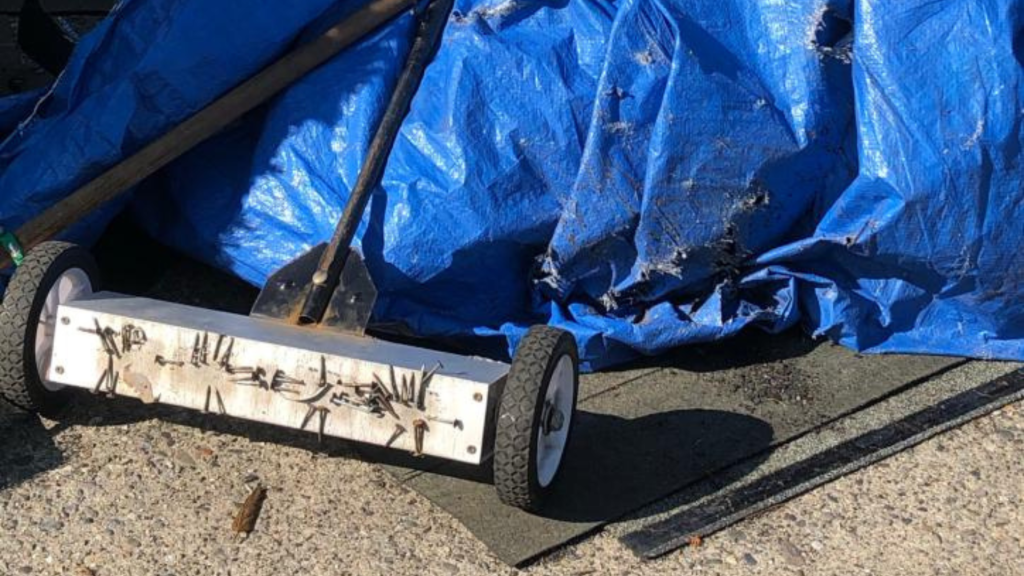
To ensure the proper completion of our roofing services, we take several steps to clean up the job site. Firstly, we use a leaf blower to remove excess granules from your roof. Next, we hand clean all of your gutters to ensure that they are free from any debris.
Finally, we take the extra step of rolling up the tarps and using an industrial-sized magnet to go over the area a few times. This ensures that any nails or staples that may have missed the tarps during the roofing project are picked up, leaving your property clean and safe.
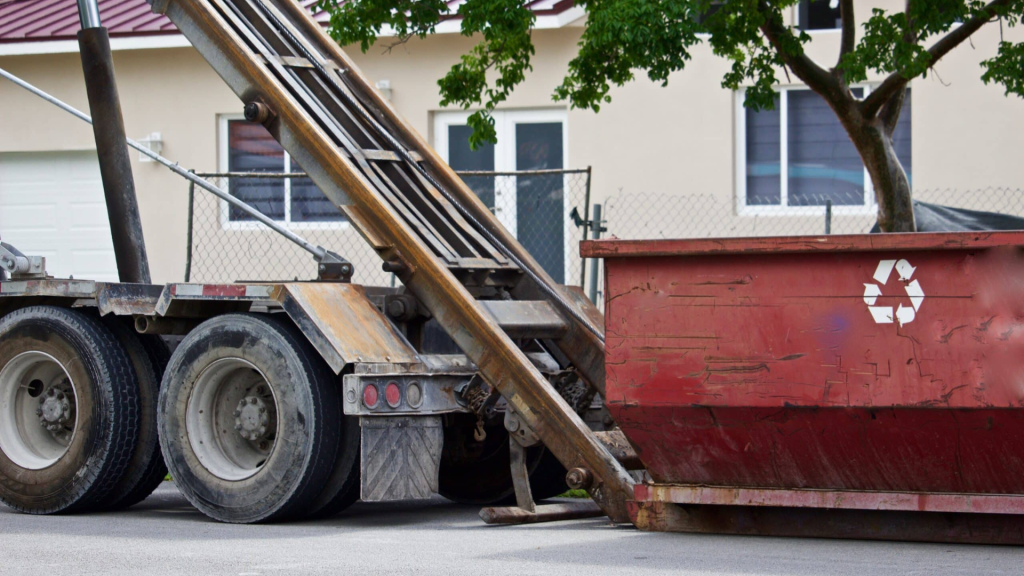
Step 15: Disposal Bin Pick-Up
Once the job is complete, we promptly remove all debris and waste materials from your property, ensuring a tidy and safe environment. Our efficient disposal bin pick-up service reflects our commitment to providing a hassle-free experience for our clients, from start to finish.
Metal and Flat Roof Systems
In addition to traditional shingle roofing, we also specialize in metal roofs and flat roofing systems.
Our team is experienced in installing and repairing a variety of roofing materials, ensuring that we can meet the unique needs of our clients and provide them with a high-quality roofing solution.


